 Save
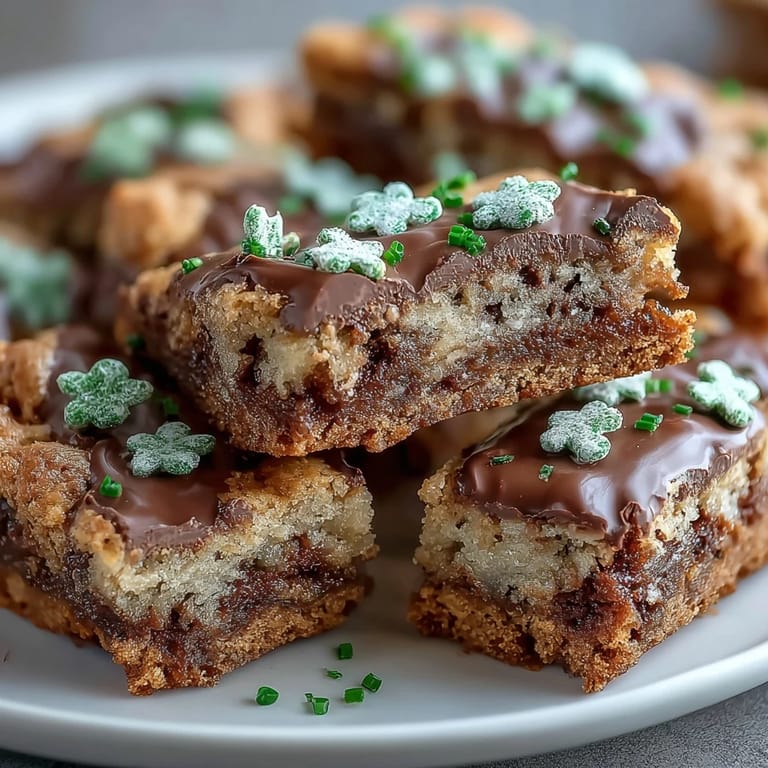
Save My neighbor showed up at my door in mid-March with a tin of these vibrant green cookie bars, and I was skeptical until the first bite—buttery, chewy, studded with chocolate, and just festive enough without being over the top. That afternoon, watching my kids' eyes light up as they decorated their own batch with clover sprinkles, I realized these weren't just cookies; they were an excuse to make something joyful together. Now, every St. Patrick's Day, someone asks if I'm making them again, and the answer is always yes.
I made these for a St. Patrick's Day potluck where everyone brought something predictable—corned beef, soda bread, the usual suspects—and these bars disappeared in ten minutes flat. One friend asked for the recipe right there, napkin still in hand, and I loved that they stood out not because they were complicated, but because they felt like someone had actually thought about making something special.
Ingredients
- All-purpose flour (2 1/4 cups): This is your base, so measure it by spooning and leveling rather than scooping straight from the bag—it makes a real difference in texture.
- Baking soda and salt (1/2 teaspoon each): Seems small, but these two keep the bars from being dense and bring out the chocolate flavor.
- Unsalted butter, melted (1 cup): Melting it first means the dough comes together faster and creates that chewy, almost brownie-like texture.
- Brown sugar and granulated sugar (1 cup plus 1/2 cup): The brown sugar adds moisture and depth; the white sugar gives structure—use them together, not one or the other.
- Eggs and vanilla extract (2 large eggs, 2 teaspoons): Make sure your eggs are at room temperature so they blend smoothly without lumps.
- Semi-sweet and white chocolate chips (1 1/2 cups plus 1/2 cup): The combination keeps things interesting; if you're using lower-quality chocolate, these bars will taste it, so splurge a little here.
- Green sprinkles and candies (1/4 cup sprinkles, plus optional green chocolates): This is where the St. Patrick's Day magic lives—mix some into the dough and save some for the top so you get green in every bite.
Tired of Takeout? 🥡
Get 10 meals you can make faster than delivery arrives. Seriously.
One email. No spam. Unsubscribe anytime.
Instructions
- Set up and preheat:
- Line your 9x13-inch pan with parchment paper, leaving some hanging over the edges so you can lift the whole block out later—trust me, this saves a lot of frustration. Get your oven to 350°F (175°C) while you gather everything else.
- Mix the dry ingredients:
- Whisk together flour, baking soda, and salt in a medium bowl, breaking up any lumps in the flour as you go. Set this aside.
- Combine the wet base:
- In a large bowl, whisk the melted butter with both sugars until smooth and slightly glossy. The mixture should look cohesive, not separated.
- Add eggs and vanilla:
- Whisk the eggs and vanilla into the butter mixture until you see no streaks of egg white. This takes about a minute of steady whisking.
- Bring it together gently:
- Fold the dry ingredients into the wet mixture using a spatula, stirring just until you don't see white flour anymore—overworking makes these tough and cakey instead of chewy. A few lumps are fine.
- Fold in chocolate and color:
- Stir in the semi-sweet chips, white chips, and about half of the green sprinkles (and green candies if you're using them). The dough should be studded with chocolate and flecked with green.
- Spread into the pan:
- Pour the dough into your prepared pan and press it gently into an even layer with your spatula. Scatter the remaining green sprinkles, candies, and clover-shaped sprinkles on top—this is the fun part, so don't be shy.
- Bake until golden:
- Bake for 23 to 26 minutes, watching for a light golden color around the edges while the center still looks slightly underbaked. A toothpick should come out with a few moist crumbs, not clean.
- Cool completely:
- Let the pan sit on a wire rack until completely cool to the touch—this takes about 30 minutes. If you cut into warm bars, they'll crumble; cold bars slice cleanly with minimal mess.
- Cut and serve:
- Lift the whole block out using the parchment overhang and slice into sixteen squares using a long knife, wiping the blade clean between cuts for neat edges.
 Pin it
 There's something about handing a homemade bar to someone and watching them smile at the cheerful green on top, then close their eyes for a second when the chocolate hits their tongue—that's when you know it wasn't just about the recipe. It's about the small gesture of saying, "I thought of you," on a day when everyone's thinking about luck and green beer.
Why These Bars Beat Store-Bought Every Time
Store-bought St. Patrick's Day treats often taste like they were designed to look festive first and taste good second, but these bars prove homemade wins without much extra effort. The butter stays soft and tender even after they cool, the chocolate melts on your tongue, and there's something honest about biting into green sprinkles you placed yourself. Plus, your kitchen will smell like toasted butter and chocolate for hours, which is something no box can promise.
Storage and Make-Ahead Tips
These bars actually taste better after a day or two, once the flavors have settled and married together. Keep them in an airtight container at room temperature for up to five days, or freeze them stacked between parchment layers for up to two months—just thaw for fifteen minutes before eating if you want them soft, or enjoy them slightly frozen on a warm day.
Ways to Make Them Your Own
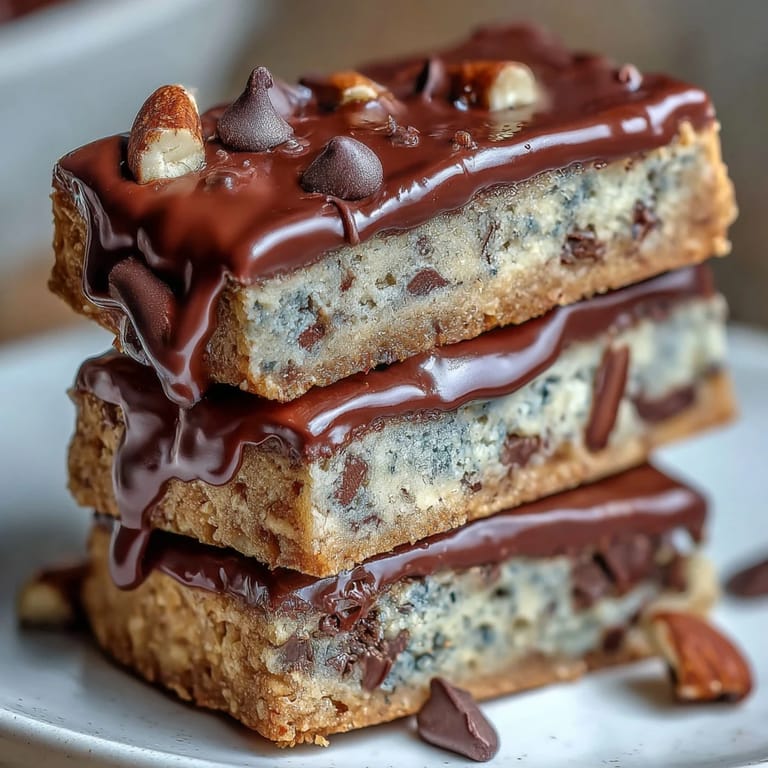
The beauty of these bars is how forgiving they are to customization; I've added everything from chopped pistachios to a drizzle of melted white chocolate on top, and they've all worked beautifully. Some people swap out half the chocolate chips for chopped nuts, others add a sprinkle of sea salt to balance the sweetness, and I've even tried crushed candy canes in a winter version. The green sprinkles are the only non-negotiable, because without them, what's the point of St. Patrick's Day baking?
- Drizzle with white chocolate after baking and add extra sprinkles while it's still wet for maximum festivity.
- If you don't have green sprinkles, use green sanding sugar, crushed green candies, or even edible green glitter for a different sparkle.
- Make these year-round by swapping the green toppings for red and white, gold and silver, or whatever colors match your mood or holiday.
 Pin it
 These bars have become my St. Patrick's Day signature, the thing people hope I'll bring, the recipe I pass along to friends who want something easier than traditional baking but more special than store-bought. Every time someone bites into one and gets that surprised delight in their eyes—that's the real luck.
Frequently Asked Questions
- → What type of chocolate chips are used?
Both semi-sweet and white chocolate chips are folded into the dough, enhancing flavor and texture.
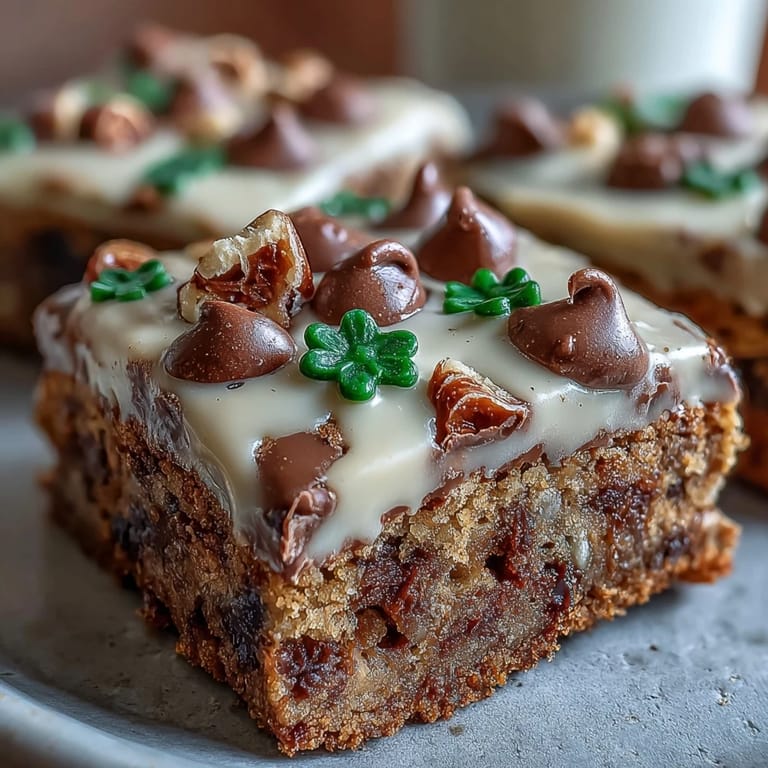
- → How are the green decorations added?
Green sprinkles and candies are mixed into the dough and sprinkled on top before baking for a festive look.
- → Can these bars be stored after baking?
Yes, store them in an airtight container; they freeze well for up to two months.
- → What gives the bars their chewy texture?
The combination of melted butter, brown sugar, and eggs creates a moist, chewy consistency.
- → Is it possible to add nuts to these bars?
Yes, chopped nuts can be substituted for part of the chocolate chips to add crunch.