 Save
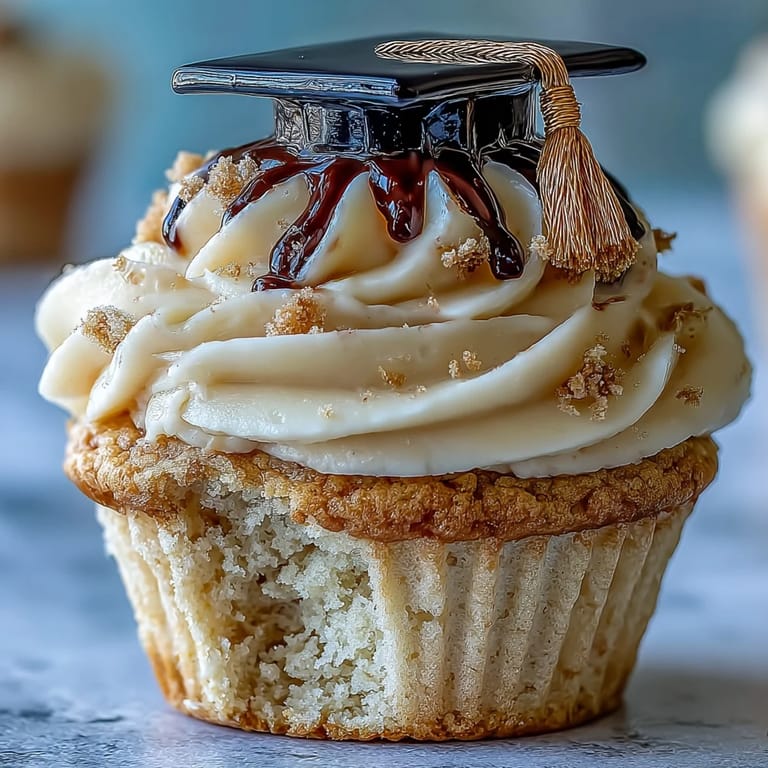
Save The scent of vanilla and sugar lingers in the air long after these celebration cupcakes come out of the oven. On a rainy afternoon, I whipped up a batch for a friend’s graduation, jazzing up the kitchen with specks of gold and smudges of black fondant everywhere. The fun started when I realized I could never keep my fingers completely clean while working with that moody black fondant. Sometimes, decorating is as much laughter and surprise as precision—especially when edible gold dust enters the mix. There’s a quiet satisfaction in transforming basic cupcakes into show-stealing centerpieces fit for new beginnings.
One memorable evening, a batch of these cupcakes found their way to a backyard party, where I watched proud parents snap photos before anyone dared to take a bite. Someone jokingly tried to don a fondant cap before finally tasting it; the whole table burst out laughing. It struck me then that a little extra effort in the kitchen could spark such genuine joy.
Ingredients
- All-purpose flour: Keeps the cupcakes fluffy yet sturdy—sift it for a lighter crumb.
- Baking powder: Gives necessary lift, so don’t skip fresh baking powder for that bakery-style dome.
- Salt: Just a pinch sharpens all the flavors; I’ve forgotten it once, and the cupcakes tasted flat.
- Unsalted butter (for both cake and frosting): Room temperature butter is essential for smooth creaming and rich texture.
- Granulated sugar: Sweetens and helps the cupcakes brown beautifully.
- Large eggs: Add structure and richness—always crack one into a separate bowl first just in case.
- Vanilla extract: Brings warm, comforting aroma; pure vanilla really makes a difference here.
- Whole milk: Ensures a moist, tender crumb—don’t swap for skim if you want that indulgent finish.
- Powdered sugar: Sift before beating into the buttercream to avoid lumps and ensure a silk-smooth swirl.
- Milk (for frosting): Adjusts the spreadability and creaminess—add it slowly, a spoonful at a time.
- Pinch of salt (for frosting): Cuts sweetness and elevates the vanilla.
- Black fondant: Essential for those classic graduation caps; keep your hands lightly greased to avoid sticking.
- Gold fondant: Makes every cupcake festive—if you can, pick one with a true metallic shimmer.
- Edible gold dust (optional): Adds an over-the-top wow factor for photos and flair.
- Cornstarch: Helps with rolling out fondant without tearing or sticking.
- Edible adhesive or water: Secures fondant pieces, but use sparingly to avoid soggy spots.
Tired of Takeout? 🥡
Get 10 meals you can make faster than delivery arrives. Seriously.
One email. No spam. Unsubscribe anytime.
Instructions
- Prep your pans:
- Line a muffin tray with colorful cupcake liners and preheat the oven to 350°F. It’s the small detail that makes clean-up later a breeze.
- Mix the dry team:
- In a bowl, whisk the flour, baking powder, and salt together until well blended, listening for that soft floury hush.
- Cream the butter and sugar:
- In another bowl, beat the softened butter with sugar until pale and fluffy; the mixer scraping rhythmically and the mixture turning almost cloud-like.
- Add eggs and vanilla:
- Crack in eggs, one at a time, beating well and stirring in vanilla for that nostalgic hint of bakery scent.
- Combine wet and dry:
- Add the flour mixture in batches, alternating with the milk, folding gently until just mixed; resist overbeating for soft, tender cakes.
- Bake the cupcakes:
- Scoop batter evenly into liners and bake 18-20 minutes, until a toothpick tip emerges free of crumbs—let them cool completely before moving on.
- Make the buttercream:
- Whip the butter until smooth, then gradually blend in sifted powdered sugar, followed by milk, vanilla, and a pinch of salt, until it’s airy and lush.
- Pipe or spread frosting:
- Spoon or pipe generous swirls of buttercream onto each cooled cupcake; if you like big frosting peaks, use a wide star tip.
- Create fondant caps:
- Dust the countertop with cornstarch, roll out black fondant, and cut neat squares for cap tops—if they’re not perfect, a little reshaping goes a long way.
- Build the cap bases:
- Shape black fondant into small balls and flatten slightly, then attach a square to each using a dab of edible adhesive or water.
- Make and add tassels:
- Stretch gold fondant into slender ropes for tassels, then stick one to each cap with a mini gold fondant button; for sparkle, brush with edible gold dust if you have it.
- Assemble and serve:
- Gently nestle one fondant cap on each cupcake and admire your handiwork before the celebration begins.
 Pin it
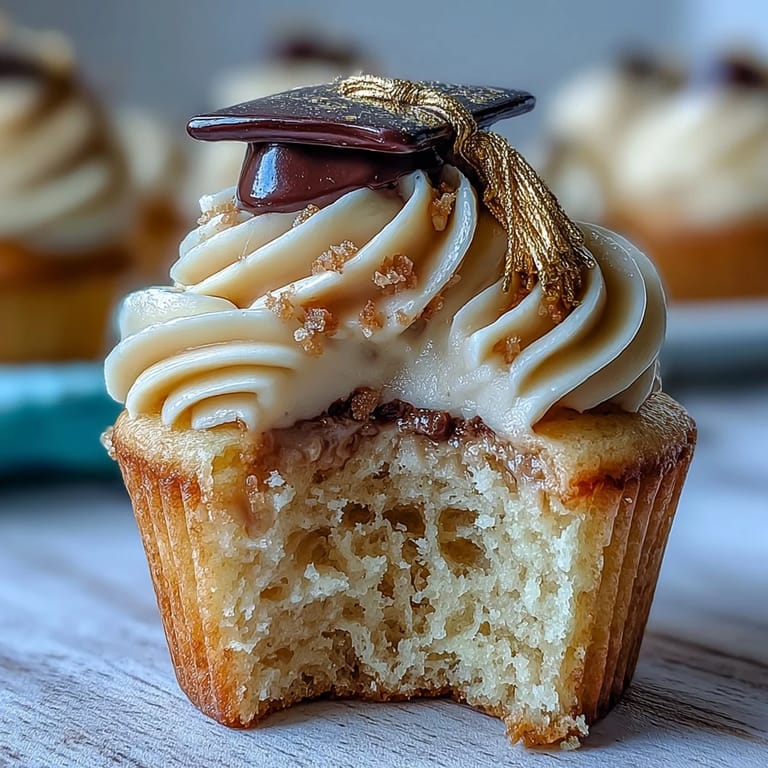
 Seeing the stack of finished cupcakes, golden tassels sparkling in the afternoon sunlight, I realized these weren’t just treats—they marked a milestone. Sometimes a cupcake can capture a moment far better than a speech ever could.
Working with Fondant—Fun and Fumbles
Fondant can be a bit dramatic, especially in summer. My first attempt ended with black streaks across my palms and a handful of lopsided caps, but edible gold dust seems to camouflage almost any imperfection. Keep a damp towel nearby for messy hands. And remember: practice makes each cap look a little sharper than the last.
Frosting That Steals the Show
Getting the right buttercream consistency feels like finding a secret code—too thick, and it fights your piping bag; too loose, and it slides away. If you ever find it grainy, just beat a little longer and it magically transforms. The smell of vanilla and butter as you whip it up can make the whole house feel like a bakery. Don’t be shy about piling it high—this is a day for extravagance.
Make-Ahead and Storage Wisdom
Life rarely runs on cupcake time, so you can easily bake these a day ahead and stash them in an airtight container. Assemble the fondant caps separately and add them just before serving so everything stays crisp and picture-perfect.
- Fondant hardens if left out, so cover unused pieces tightly.
- Swap gold fondant for another school color if you wish.
- If any caps break, a smear of frosting will glue them in a pinch.
 Pin it
 However you celebrate, these cupcakes will add a sparkle to the room and a smile to every graduate. Enjoy making them your own, and don’t be surprised when everyone asks for the recipe.
Frequently Asked Questions
- → How do I prevent cupcakes from sinking in the center?
Avoid overmixing once the dry ingredients are added. Ensure baking powder is fresh and measure accurately. Bake immediately in a preheated oven and test at 18 minutes; a clean toothpick indicates doneness.
- → What’s the best way to keep fondant from sticking while rolling?
Dust the work surface lightly with cornstarch or powdered sugar and knead fondant until pliable. Lift and turn frequently while rolling to prevent sticking and ensure even thickness.
- → How can I make the gold details shine more?
Brush a thin layer of edible adhesive or water on the fondant, then apply edible gold dust with a soft brush. For extra pop, mix the dust with a tiny amount of clear alcohol or lemon extract for a paint-like sheen.
- → Can these be prepared ahead of time?
Yes. Cupcakes can be baked a day ahead and stored in an airtight container at room temperature. Assemble fondant caps the same day or store caps separately to prevent moisture softening.
- → What substitutions work for dairy-free or vegan needs?
Use plant-based butter and a non-dairy milk for both batter and buttercream. Check fondant ingredients for gelatin or dairy; many ready-made fondants are vegan-friendly or can be substituted with vegan modelling paste.
- → How should finished cupcakes be stored and for how long?
Store in an airtight container at room temperature for up to 24 hours. For longer storage, refrigerate up to 3 days but bring to room temperature before serving to restore texture.