 Save
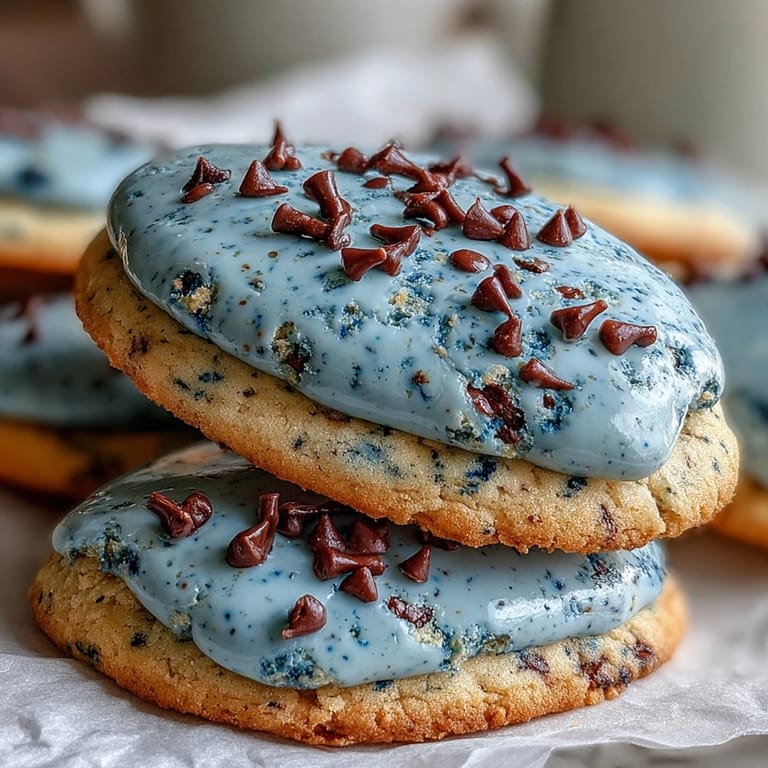
Save The moment I first made these Spring Cookies, the kitchen felt brighter, even before mixing in those pastel blues. I remember my curiosity about speckling chocolate onto icing—would it look like eggs or a paint disaster? The scent of butter and vanilla filled my apartment, and by the time the dough was tinted, friends passing by the door peeked in, tempted by the cheerful commotion. I couldn’t help but smile at the simple joy of creating something whimsical for no other reason than spring’s arrival. Little flecks of cocoa ended up almost everywhere, but that only added to the festive mess.
Last April, my neighbor’s kids came over to help flick cocoa speckles, laughing uncontrollably when a few landed on their faces. We gathered around the counter, comparing whose cookies had the best 'egg-like' spots, and the results ranged from artistic to abstract. I left iced cookies scattered across cooling racks, chatting while the icing set—honestly, it was a good excuse to linger. By the end, we flushed, happy, and ready for spring, sampling the first batch together. That day, these cookies became tradition in my home, especially when we need a little fun in the kitchen.
Ingredients
- All-purpose flour: Go for unbleached; measure with a spoon and level for tender cookies.
- Baking powder: Gives the cookies just enough lift to stay crisp at the edges.
- Fine salt: Enhances flavors and balances sweetness—don’t skip it.
- Unsalted butter: Make sure it’s softened fully, otherwise your dough won’t come together nicely.
- Granulated sugar: Cream it until fluffy for best texture; I’ve learned patience here pays off.
- Large egg: Keep it at room temperature for smooth dough.
- Pure vanilla extract: The aroma is essential to the springtime vibe.
- Almond extract (optional): Just a touch elevates the depth, but skip if anyone’s allergic.
- Blue gel food coloring: Gel gives vibrant color without altering dough consistency; add gradually.
- Powdered sugar: Sift it for lump-free icing, a lesson I learned after one too many clumps.
- Milk: Adjust to your preferred icing thickness—start with less and add more as needed.
- Light corn syrup: Keeps the icing shiny and smooth.
- Unsweetened cocoa powder: Only a little is needed for speckling, but quality matters for darker spots.
- Water: Add just enough to thin the cocoa for flicking; too much and it drips.
Tired of Takeout? 🥡
Get 10 meals you can make faster than delivery arrives. Seriously.
One email. No spam. Unsubscribe anytime.
Instructions
- Combine dry ingredients:
- Whisk flour, baking powder, and salt in a bowl, feeling how soft it becomes as air mixes in.
- Cream butter and sugar:
- Beat butter and sugar until pale and fluffy; listen for the gentle whir and watch the transformation.
- Add egg and extracts:
- Mix in the egg, vanilla, and almond extract, noticing the smooth blend and subtle aroma.
- Incorporate dry mixture:
- Add flour mixture gradually; stop once it’s just combined, keeping the dough tender.
- Tint and chill dough:
- Drop in blue coloring and gently fold; split, wrap, and chill so it rolls out easily later.
- Prep and roll out:
- Preheat oven and line sheets; roll to 1/4 inch thickness and cut egg shapes, enjoying how precise each impression looks.
- Bake and cool:
- Space cookies out, bake until just golden at the edges, and move to racks after a few minutes so they don’t overcook.
- Make royal icing:
- Whisk powdered sugar, milk, syrup, and vanilla, adding blue color and watching it swirl into delicate shades.
- Ice the cookies:
- Spread or pipe icing onto cooled cookies, savoring how glossy and smooth it looks as it sets.
- Speckle with cocoa:
- Mix cocoa, water, and vanilla; dip a brush and flick gently onto cookies, protecting surfaces from stray dots.
- Let set and enjoy:
- Allow icing to dry completely—anticipate sharing these soon, the colors bright against spring light.
 Pin it
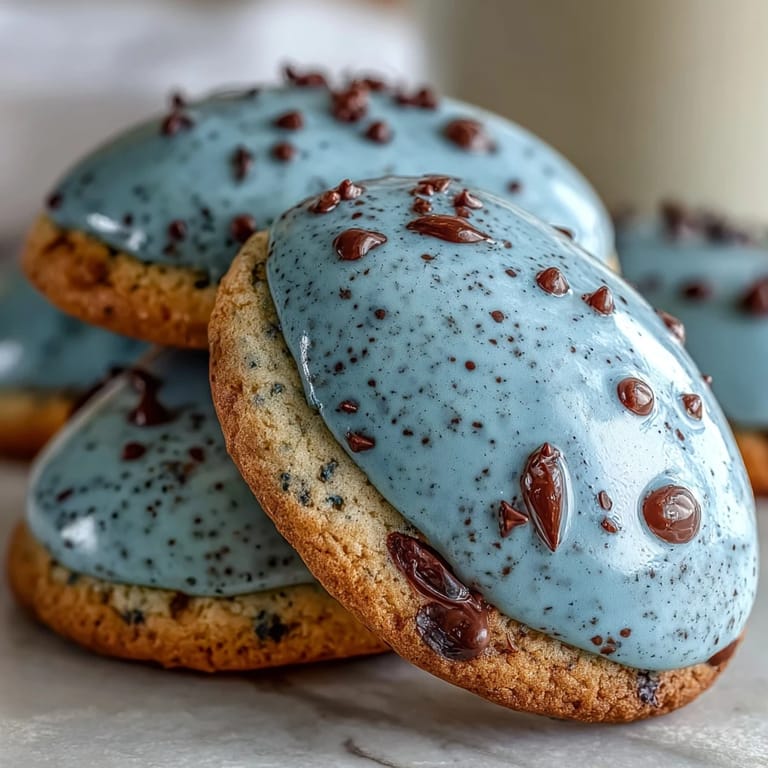
 The first time someone called these 'the prettiest cookies they’d ever seen,' I felt a strange pride in the little cocoa specks. Making them became a way to celebrate—not just the season, but moments of quiet joy, from coffee chats to birthday surprises. It’s funny how something as simple as blue icing can brighten a rainy afternoon.
How to Handle the Icing Like a Pro
Let the cookies cool completely before icing, or the glaze will melt into puddles. Royal icing can be piped or spread with an offset spatula, but I’ve found piping makes tidier edges. Always let iced cookies set before speckling, otherwise the cocoa syrup blends into the glaze instead of forming crisp flecks. If you want clean speckles, practice with the brush or toothbrush on parchment before aiming for the cookies. Don’t forget to protect counters—speckle marks appear in surprising spots.
Why Chill the Dough—It’s a Must, Not a Maybe
Chilling brings out that crisp, buttery texture, making cut-outs clean rather than ragged. If you skip it, even your best cutter won’t help with spreading or uneven shapes. I often chill overnight when I’m short on time, and the dough actually rolls out more smoothly. Use plastic wrap to keep dough from drying out in the fridge. The cold blue dough is somehow more fun to work with than warm, floppy batter.
Getting the Perfect Egg Shape Every Time
I always use a 2–3 inch cutter for spring, but round cutters make a playful batch. Press firmly and cleanly so the cookies stay pretty as they bake. If dough sticks, dust the cutter edge lightly with flour before each impression. The most satisfying moment is peeling away the excess, revealing rows of cookie eggs ready to transform.
- Clean your cutters between batches for sharp shapes.
- Keep extra dough covered while working so it doesn’t dry out.
- Let the cookies cool fully before icing or decorating for best results.
 Pin it
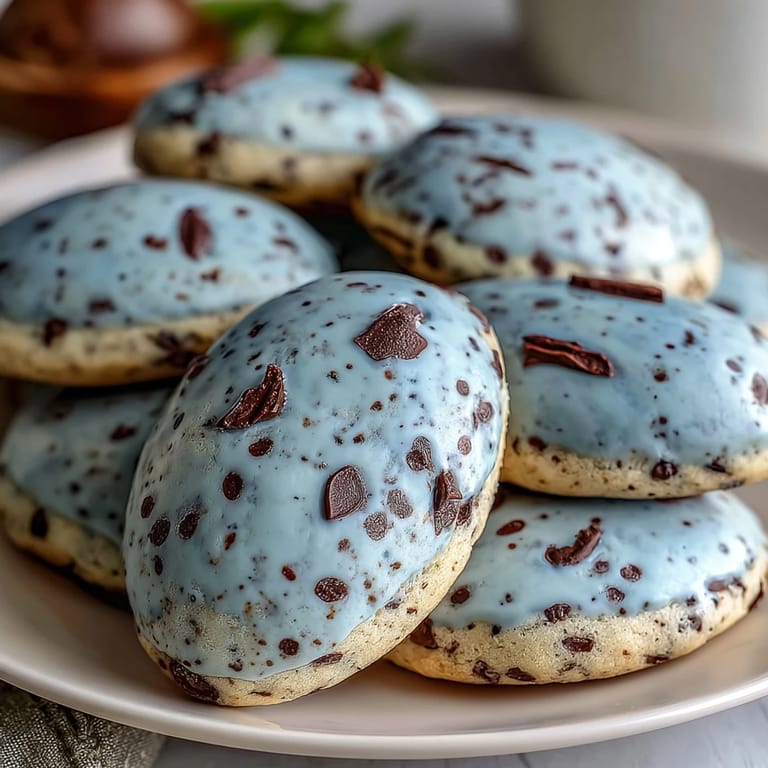
 These robin's egg cookies always signal the start of spring in my kitchen, bringing smiles just with their cheerful colors. I hope you find as much joy in baking and sharing them as I have.
Frequently Asked Questions
- → How do I achieve the blue tint for the cookies?
Add a few drops of gel food coloring to the dough and icing, mixing gently for a pale blue hue.
- → What's the best way to make the speckled effect?
Mix cocoa powder with water and vanilla, then use a paintbrush to flick speckles onto iced cookies.
- → Can almond extract be omitted?
Yes, almond extract is optional. Leaving it out will maintain a classic vanilla profile.
- → How should these cookies be stored?
Store them in an airtight container for up to one week to preserve freshness and texture.
- → Are these cookies suitable for vegetarians?
Yes, as long as you check labels for the coloring and extracts, these cookies align with vegetarian diets.
- → What tools are needed for the speckling?
A food-safe paintbrush or clean toothbrush works best for flicking the cocoa mixture over iced cookies.