 Save
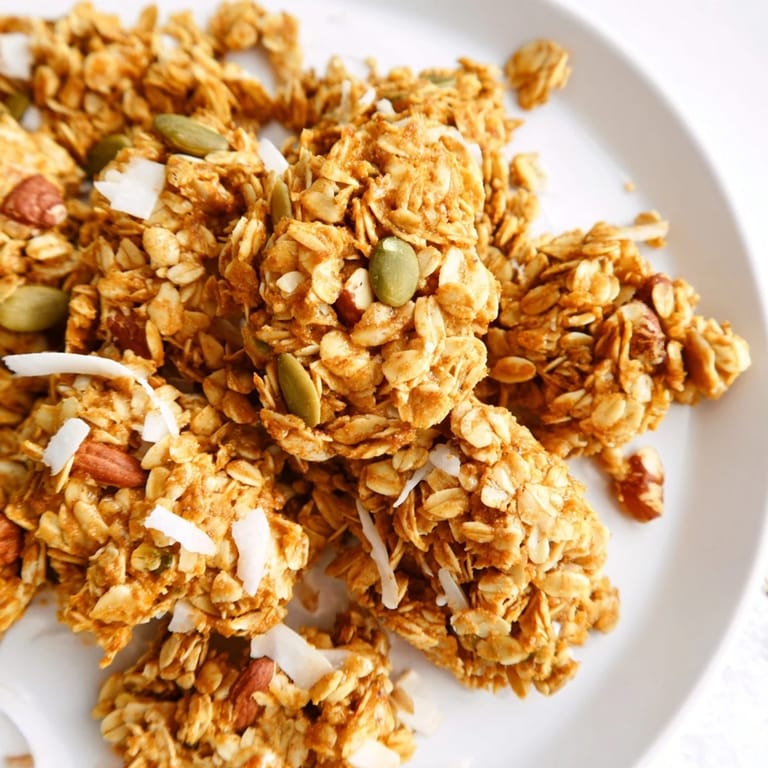
Save There's something deeply satisfying about making granola from scratch—watching golden oats tumble across a hot baking sheet, filling your kitchen with the smell of toasted nuts and warm honey. I stumbled onto this recipe one lazy Sunday morning when I realized I'd run out of store-bought granola and my coffee felt lonely without its usual crunchy companion. What started as a quick kitchen experiment became something I now make regularly, mostly because the clusters turn out perfect every time and somehow taste exponentially better than anything bagged and boxed.
I first made this for a friend's camping trip, filling mason jars with clusters and watching her face light up when she realized I'd actually baked them myself. There's something about sharing homemade granola that feels more personal than just buying a gift—it carries the scent of your kitchen and the care you took to get the clusters just right. Ever since, I've brought batches to potlucks, morning hikes, and quiet mornings with people I wanted to impress gently.
Ingredients
- Old-fashioned rolled oats (2 cups): The backbone of everything—they hold together beautifully and toast to this deep golden color that regular oats just can't achieve.
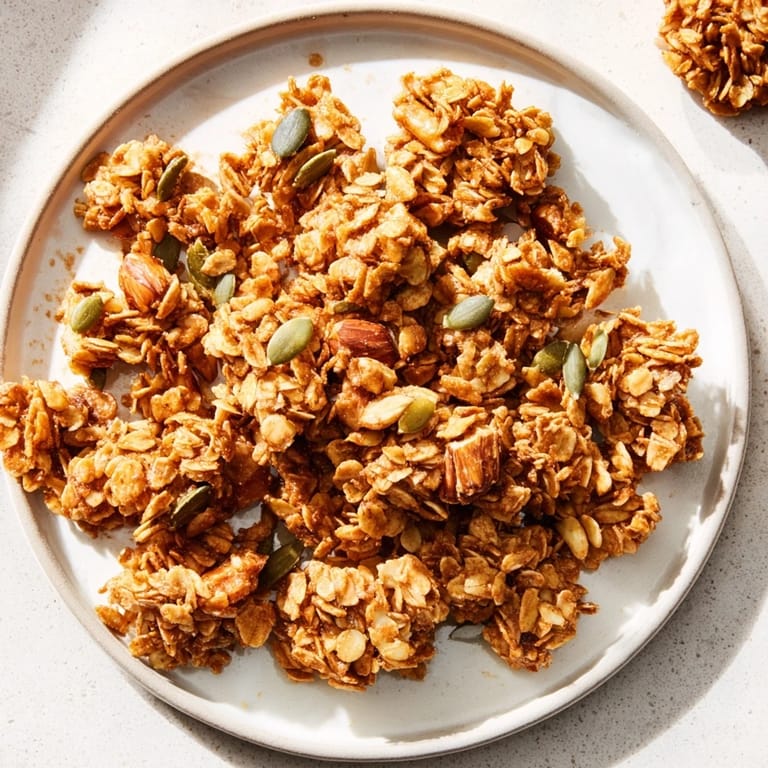
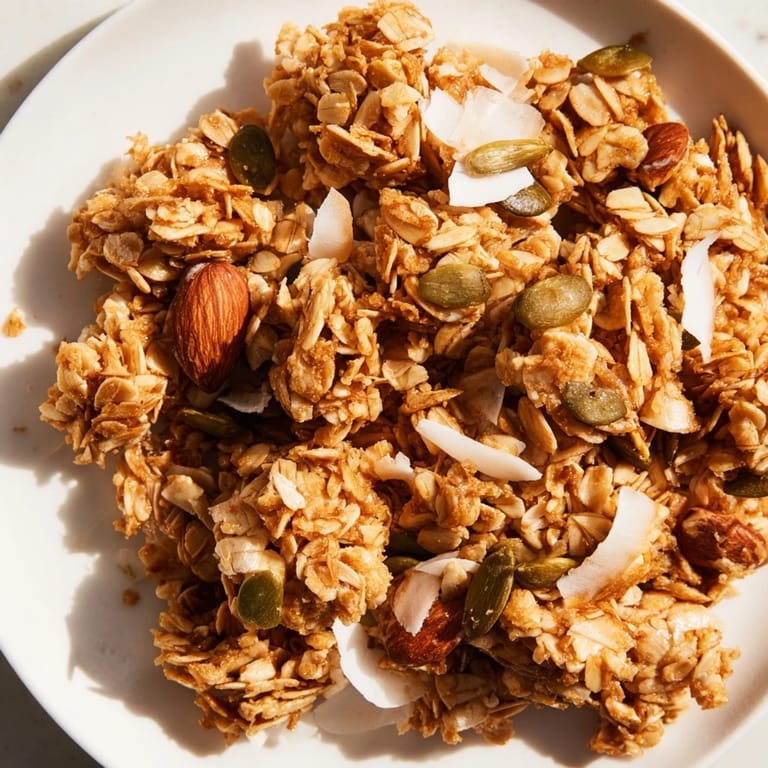
- Mixed nuts (1 cup), coarsely chopped: Almonds, pecans, walnuts work wonderfully; the variety gives you different textures and flavors in every handful.
- Shredded unsweetened coconut (½ cup, optional): Adds tropical sweetness and extra crunch without overpowering the other flavors.
- Pumpkin or sunflower seeds (¼ cup): These little seeds toast up nutty and give you something to look for in every bite.
- Ground cinnamon (½ tsp): Brings warmth without announcing itself loudly; use fresh cinnamon if you have it.
- Fine sea salt (¼ tsp): The secret that makes everything taste more like itself—never skip this.
- Honey (⅓ cup): The glue that holds clusters together and adds that subtle caramel note when it hits the oven.
- Melted coconut oil (¼ cup): Helps everything toast evenly; neutral oil works too if coconut isn't your thing.
- Vanilla extract (1 tsp): A quiet player that rounds out all the other flavors beautifully.
- Dried fruit or chocolate chips (optional, after baking): Add these only after cooling so they don't melt or burn—they're the final layer of indulgence.
Tired of Takeout? 🥡
Get 10 meals you can make faster than delivery arrives. Seriously.
One email. No spam. Unsubscribe anytime.
Instructions
- Set up your space:
- Preheat your oven to 325°F and line a baking sheet with parchment paper. This temperature is lower than you might expect, but it's the secret to golden clusters instead of burnt edges. You want the oven ready and waiting.
- Build the dry base:
- Dump oats, nuts, coconut, seeds, cinnamon, and salt into a large mixing bowl and stir until everything looks evenly distributed. This takes about a minute and ensures every cluster will taste balanced.
- Whisk the magic liquid:
- In a separate bowl, whisk together honey, melted coconut oil, and vanilla until it looks smooth and combined. The warmth of the coconut oil keeps the honey from seizing up, making it easier to mix into the dry ingredients.
- Bring it together:
- Pour the wet mixture over the dry ingredients and stir patiently until everything is coated and little clumps start naturally forming. This is where you'll feel the mixture transform from separate ingredients into something cohesive.
- Spread and press:
- Spread the mixture onto your prepared baking sheet in an even layer, then use a spatula to gently press down. Don't compact it rock-hard—just encourage the clusters to hold hands with each other.
- Toast with intention:
- Bake for 22–25 minutes, rotating the pan halfway through so it toasts evenly. You'll know it's done when the edges turn deep golden and the whole sheet smells irresistible.
- Cool without touching:
- Remove from the oven and let the granola cool completely on the baking sheet—this is crucial because stirring it while warm breaks apart the clusters you just spent time building. Patience here pays off.
- Finish and store:
- Once completely cool, break the granola into clusters with your hands, then fold in any dried fruit or chocolate chips you're using. Store in an airtight container where it'll stay crunchy for days.
 Pin it
 There's a moment when the oven door opens and that wave of toasted warmth hits your face that you realize you've created something special. For me, that's when granola stopped being just breakfast and became a little ritual I look forward to—a small act of care that happens to feed the people around me really well.
Why Clusters Beat Loose Granola
When granola stays in pieces instead of dust, breakfast feels intentional. Clusters have personality—they're substantial enough to grab a handful, they stay crunchy longer in yogurt or milk, and somehow they feel more satisfying than scattering loose granola over everything. There's also something psychologically better about breaking apart a cluster with your teeth rather than picking through individual oats.
The Oven Temperature Secret
I used to bake granola at 350°F like most recipes suggested, but the edges would brown too fast while the center stayed pale. Dropping to 325°F changed everything—it gives the mixture time to toast evenly and develop that deep color that makes it taste richer. The lower heat also keeps the honey from caramelizing too dark, preserving that balance between sweet and toasted.
Make It Your Own
The beauty of this recipe is how forgiving and customizable it is, so don't feel locked into exact proportions. Swap honey for maple syrup, add extra seeds for more nutrition, use whatever nuts you have on hand, or skip the coconut entirely if it's not your thing. The structure stays the same; you're just changing the players.
- For vegan granola, use maple syrup instead of honey and skip any chocolate chips or use dairy-free versions.
- Try adding citrus zest, cardamom, or ginger to the wet mixture for unexpected flavor depth.
- Store in glass jars instead of containers—it keeps longer and looks beautiful enough to leave on your counter.
 Pin it
 Making granola is one of those small kitchen victories that compound over time, turning you into the kind of person who always has something good to offer. It's breakfast, snack, and gift all at once—made better because your hands shaped it.
Frequently Asked Questions
- → How do I ensure the clusters stick together well?
Mix the wet ingredients thoroughly with the dry mixture and press firmly on the baking sheet before baking. Avoid stirring after baking to help clusters set properly.
- → Can I substitute the honey for a vegan option?
Yes, you can use maple syrup instead of honey to keep it vegan without compromising sweetness or texture.
- → What nuts work best in this dish?
A combination of almonds, pecans, and walnuts adds a rich, crunchy texture and diverse flavors.
- → Is it possible to add extra seeds for crunch?
Absolutely, adding chia or flax seeds enhances crunch and adds nutritional benefits.
- → How should I store the finished clusters?
Keep them in an airtight container at room temperature to maintain crispness and freshness for several days.
- → Can dried fruits or chocolate chips be added?
Yes, mixing in dried cranberries, raisins, or chocolate chips after cooling adds sweetness and variation.