 Save
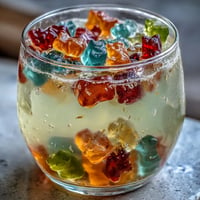
Save Lately, my kitchen has echoed with the giggles of my niece as we craft these Rainbow Jello Cups together. The first time we made them, the array of colored boxes scattered across the counter left us both wide-eyed with anticipation. We debated over which shade should go first, and it was settled with her firm declaration that purple looked "the coolest." The memories aren’t grand—just small, joyful interruptions in otherwise ordinary days, lit up by the excitement of layering each hue. There’s something satisfying about watching the transformation from liquid to wobbly, glass-bound stripes as each batch chills.
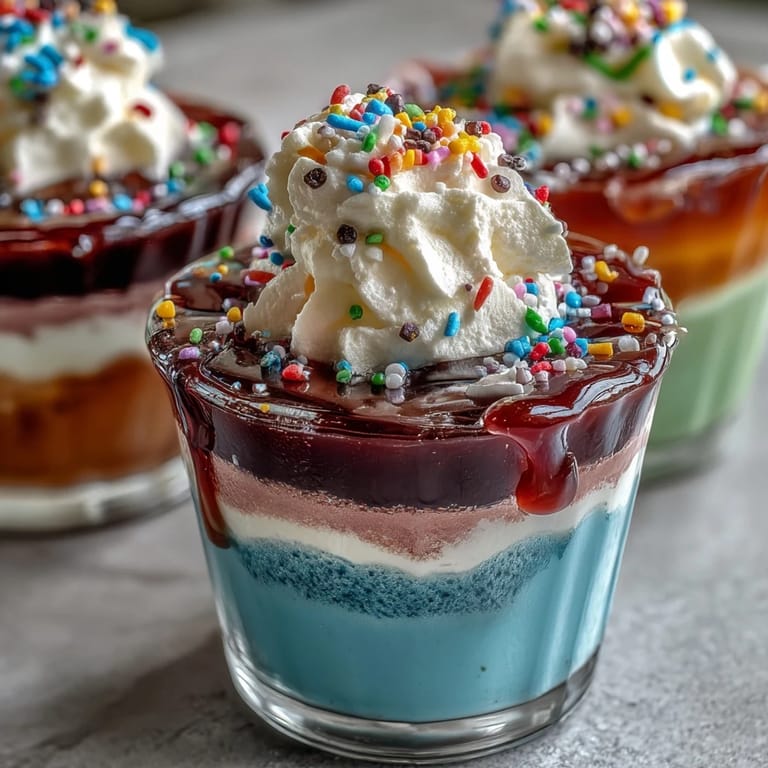
The afternoon we made these for my nephew’s birthday, the kitchen quickly turned into a rainbow factory. He perched on a stool, counting aloud each layer as if keeping score. We miscounted once, and ended up with two blue layers; it only made everyone laugh harder. There’s a certain magic when a group of kids crowds around the fridge, peering in to see if the colors have set. Sharing these cups at a party is always a highlight, especially when someone declares the whipped cream "the best part."
Ingredients
- Jello flavors (red, orange, yellow, green, blue, purple): Picking bright, fruity flavors transforms each cup into a rainbow—making sure each box is fully dissolved avoids patchy layers.
- Boiling water: The secret to clear, vibrant Jello is mixing in the hot water thoroughly; don’t rush this step.
- Cold water: Tempering the Jello ensures a smooth set—use chilled water or even a few ice cubes if you’re feeling impatient.
- Whipped cream or whipped topping: Fluffy and sweet, it crowns the cups beautifully, especially if piped on in swirls; homemade whipped cream adds extra richness.
- Rainbow sprinkles (optional): These aren’t required, but to a child, they’re practically essential—use plenty for extra cheer.
Tired of Takeout? 🥡
Get 10 meals you can make faster than delivery arrives. Seriously.
One email. No spam. Unsubscribe anytime.
Instructions
- Purple Layer First:
- Start by whisking the grape Jello with boiling water until every grain disappears, then add cold water and give it another stir. Carefully pour about two tablespoons into each cup, and let it chill until delightfully firm.
- Layer by Layer:
- Repeat the mixing, pouring, and chilling process with each color, always making sure the previous layer is set before adding another. Watching the stripes build up is half the fun, and if a layer ends up a bit slanted, it just adds character.
- Final Red Layer:
- After the orange and yellow, the strawberry Jello crowns the top—don’t forget to wait for the last layer to set so the topping won’t sink. The cups now look like edible rainbows, ready for their finishing touches.
- Whipped Cream Magic:
- Right before serving, pipe or dollop whipped cream on each cup; for an extra festive flair, shake on a generous handful of sprinkles. The contrast between creamy topping and vibrant Jello is always a crowd-pleaser.
- Chill & Serve:
- Keep the cups cold until ready to serve, pulling them out just in time for everyone to marvel at their rainbow stripes. Serve chilled and enjoy every spoonful.
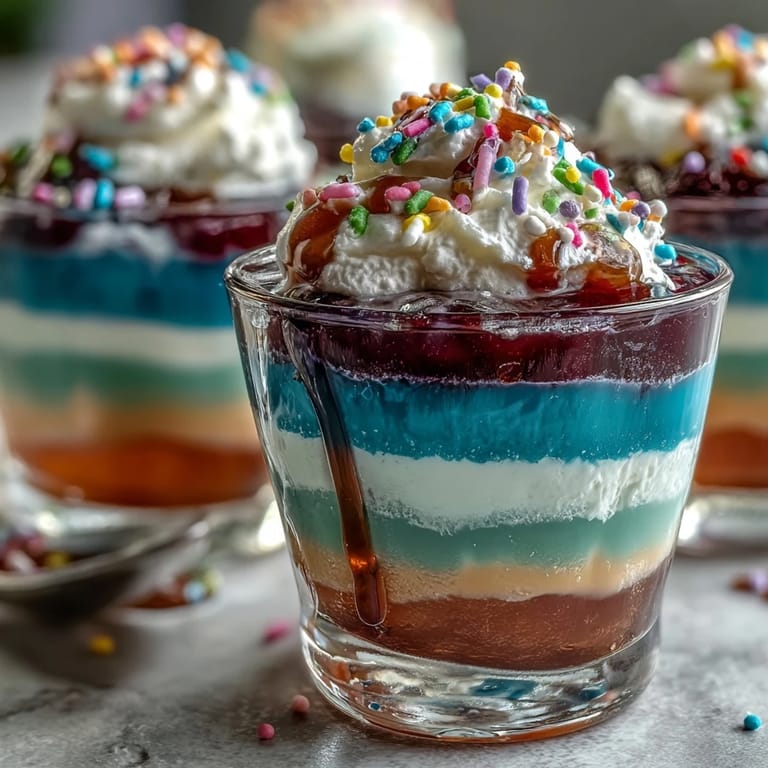
 Pin it
 I remember the smile on my aunt’s face as she watched her grandchildren devour the cups, each child trying to guess the flavors in order. For a few moments, the whole table was united over spoonfuls of wiggling rainbows, and chatter quieted as everyone savored the treat. It was the kind of simple celebration that made the afternoon memorable, long after the last layer disappeared.
Making Perfect Layers Every Time
Patience is everything—rushing a layer leads to a muddy blur where distinct colors should pop. If you give each layer time and resist poking the cups, the results are reliably dazzling. Years later, I still catch myself opening the fridge to check if the colors are vivid and sharp, a habit formed out of early eagerness.
Customizing Your Rainbow Jello Cups
Swapping flavors is a breeze—try cherry instead of strawberry, or pack coconut whipped cream for a dairy-free finish. Mixing in real fruit pieces between layers can add a burst of freshness and flavor. I love adding a layer of pineapple tidbits in the yellow Jello for extra tang.
Serving Secrets and Troubleshooting
Don’t forget, clear cups show off the colors best and make each layer shine—opaque cups lose some magic. If you spill a layer on the rim, just wipe it clean before chilling; a neat presentation goes a long way. Since the cups need several hours to chill, it’s ideal to plan ahead and start in the morning.
- Sprinkles are easiest to sprinkle when whipped cream is just piped and still cold.
- If you accidentally pour too much Jello, use a spoon to adjust the levels for matching heights.
- Always check the cups for a solid set before moving to the next layer.
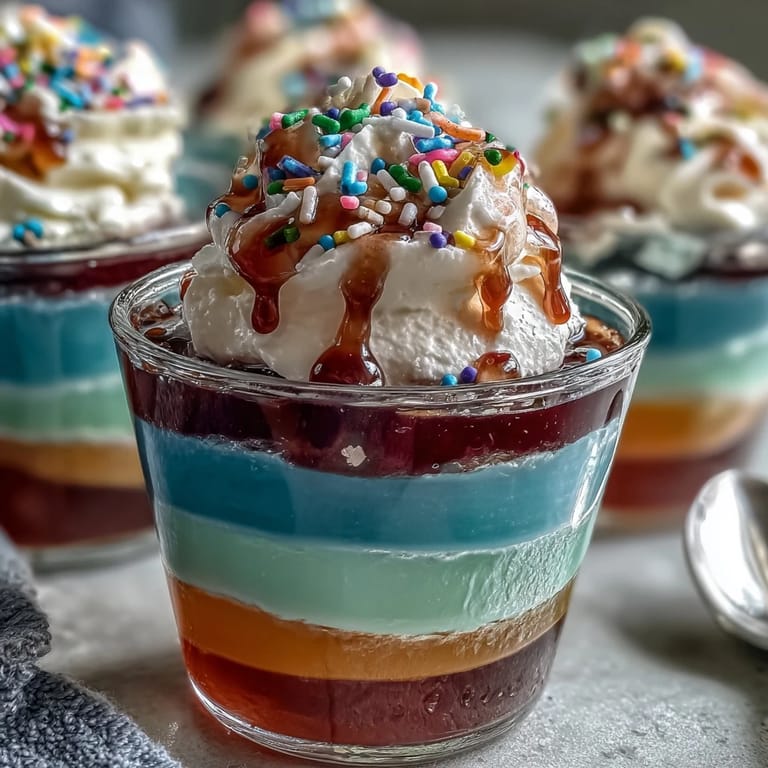 Pin it
 There’s genuine joy in making these cups, and sharing them is even better—they’re as delightful to create as they are to eat. May your rainbow always set beautifully, and your kitchen be filled with laughter.
Frequently Asked Questions
- → How do you get distinct color layers?
Let each Jello layer fully chill and set before pouring the next to create crisp, vibrant stripes.
- → Can you substitute flavors or colors?
Absolutely. Mix and match your favorite Jello flavors and colors to personalize these cups.
- → How can you make it dairy-free?
Swap out regular whipped cream with coconut-based whipped topping for a dairy-free option.
- → Is it possible to use sugar-free Jello?
Yes, sugar-free Jello works well for lighter, less sweet layered cups.
- → What tools do you need?
You'll need clear cups, mixing bowls, a whisk or spoon, measuring cups, and a refrigerator.
- → How long do the layers take to set?
Each Jello layer needs about 30–40 minutes in the fridge before you add the next color.